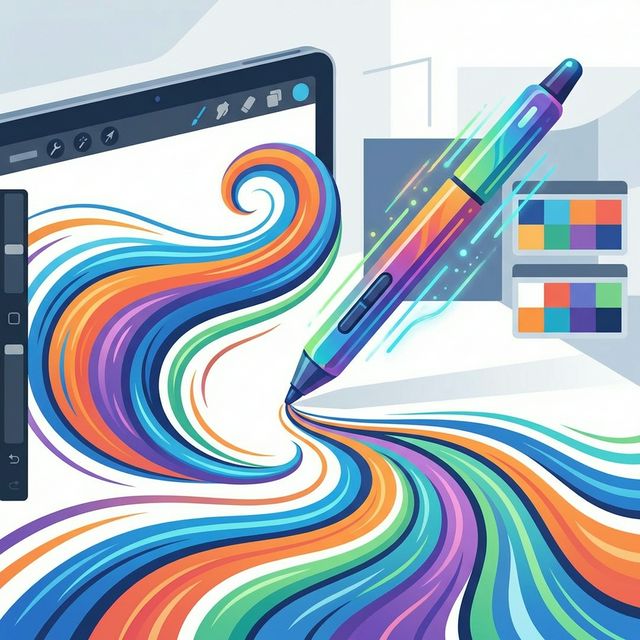
Pen Pressure Control for Artists
A Complete Practice Guide
Every artist who draws for coloring books, illustration, or comics eventually hits the same wall: technically correct drawings that feel flat and lifeless. Nine times out of ten, the culprit is uniform line weight. Here's how to fix it — with deliberate drills that actually work.
Line weight variation is one of those skills that's invisible when it's done well and glaring when it's absent. Look at any professional coloring book illustration and you'll notice the outlines aren't a uniform thickness — they're thicker where forms curve away from the light, thinner at sharp edges, heavier at the base of objects, lighter at the tips. That variation is what gives flat line art its sense of dimension and life.
The technical term is line weight variation. The physical skill behind it is pen pressure control — the ability to consciously and consistently modulate how hard your pen, marker, or stylus presses against the surface as you draw.
Most artists know this intellectually. Fewer have actually drilled it deliberately enough to make it automatic. This guide gives you the framework and the specific drills to get there.
Why Pressure Control Matters More Than Any Other Skill
Drawing skill breaks down into several components: proportion, perspective, anatomy, value, color, and line quality. Of these, line quality is the most immediately visible to a viewer and the most directly tied to how "professional" a drawing looks — but it's the one artists practice least deliberately.
Proportion errors require careful looking to spot. Anatomy problems need anatomical knowledge to identify. But a drawing with uniform, dead-weight lines looks flat and amateurish to anyone — even someone who couldn't explain why.
The good news: pressure control is a pure motor skill. It doesn't require artistic vision or theoretical knowledge. It requires repetition of specific physical movements until they become automatic. That means it responds to targeted practice faster than almost any other drawing skill.
The Three Weights You Need to Master
Professional line art doesn't require infinite gradations of pressure. It requires reliable command of three distinct weights and the judgment to know when to use each:
Heavy weight — your maximum intentional pressure. Used for: outer contours of objects, ground contact points, shadow sides of forms, the base of characters' feet. Heavy lines anchor objects to the page and create visual hierarchy.
Medium weight — your neutral pressure, the line you draw when you're not thinking about it. Used for: interior structure lines, secondary contours, mid-tone separations. This is the weight most artists already have decent control over — it's their default.
Light weight — deliberate feathering, near-lifting pressure. Used for: detail lines inside forms, highlights, texture marks, the tips of hair strands and feathers, lines that trail off at their ends. The hardest weight to control because it requires actively restraining your natural grip tension.
The goal isn't to hit these three weights perfectly every time. The goal is to be able to choose which one you want and produce it reliably — rather than having your pressure wander based on unconscious tension and fatigue.
Grip Before Drills
Pressure control starts with grip. A death grip on your pen — fingers white at the knuckles, wrist locked — makes it physically impossible to modulate pressure subtly. Your hand is already at maximum tension with nowhere to go for light lines and no sensitivity for the transitions between weights.
The correct grip for pressure control is relaxed but not loose. Hold the pen the same way you'd hold a thermometer you're trying to read — secure enough that it won't fall, but with enough slack that you could feel someone gently tugging it out of your hand. Your wrist should be mobile. Your shoulder should be relaxed.
The Four Core Drills
These drills are designed to be done in 10–15 minutes per session, 3–4 times per week. You'll see noticeable improvement within two weeks of consistent practice. The KikoPop Art Practice Lab includes printable versions of all four with guide grids pre-printed.
Drill 1 — The Gradient Line. Draw a horizontal line across your page, starting with maximum pressure on the left and gradually reducing to near-nothing on the right. The line should transition smoothly from thick-and-dark to thin-and-faint. Do 10 lines per session. The common failure mode is stepping between weights rather than gradating — you'll see distinct "jumps" in thickness. The fix is slowing down and consciously thinking about releasing pressure continuously as your hand moves.
Drill 2 — The Swell. Draw a line that starts light, swells to maximum weight in the middle, then tapers back to light at the end. This is the fundamental stroke for organic forms — the curve of a petal, the arc of a fish's back, the cheek of a cartoon character. 10 swells per session, varying the length and direction.
Drill 3 — The Controlled Contour. Draw a simple closed shape — an egg, a leaf, a teardrop — and vary your weight deliberately around the contour. Heavy on the bottom and shadow side, light at the top and light side. This is pressure control in the context of actual drawing rather than isolated lines. 5 shapes per session.
Drill 4 — The Texture Fill. Fill a 2-inch square with parallel hatching lines at light pressure, keeping every line the same weight throughout. This builds the sustained low-pressure control needed for detail work and texture. The hardest drill for most artists because maintaining consistent light pressure over many strokes requires conscious attention from start to finish.
Free: KikoPop Art Practice Lab
10 printable skill modules including pressure control, line confidence, contour drawing, and texture drills. Pre-printed guide grids, 8.5×11" print-ready sheets. No account needed.
Open Art Practice Lab →How Your Tools Affect Pressure Response
Different drawing tools have radically different pressure response curves, and what feels like a skill gap is sometimes just a tool mismatch. Understanding your tools makes the drills more effective:
Brush pens — the most pressure-responsive tool. Even small changes in pressure produce visible weight changes. Great for learning the feel of pressure variation, but the sensitivity also makes control harder. Start with these only after you have basic grip relaxation down.
Fine-tip markers (Micron, Staedtler, Copic liners) — relatively low pressure response. The line width is mostly fixed by the tip size. Pressure control with these tools is more about tip angle and speed than force. Light pressure prevents tip damage; heavy pressure is just waste.
Dip pens and flexible nibs — the classic calligraphy tool for dramatic weight variation. Downstrokes with pressure produce thick lines; upstrokes with lifted pressure produce hairlines. Steep learning curve but the most expressive tool for deliberate line weight work.
Digital stylus (iPad, Wacom, etc.) — pressure sensitivity is configurable in software. Most beginners have sensitivity set too high, making small pressure changes produce large weight jumps. Try reducing brush sensitivity to 60–70% — it gives you more granular control over the middle pressure range where most of your drawing happens.
| Tool | Pressure Response | Best For | Watch Out For |
|---|---|---|---|
| Brush pen | Very high | Expressive line work, calligraphy-style art | Over-sensitivity until control develops |
| Fine-tip marker | Low | Clean consistent linework, technical illustration | Weight variation requires tip size changes |
| Dip pen | Extreme | Dramatic weight variation, comic book inking | Steep learning curve, ink blobs when learning |
| Digital stylus | Configurable | Any style — most forgiving (undo exists) | Default settings often too sensitive |
| Ballpoint pen | Medium | Sketching, gesture drawing practice | Inconsistent ink flow under heavy pressure |
Applying It to Coloring Book Art Specifically
Coloring book line art has a specific set of requirements that shapes how you apply pressure control. Unlike illustration or comics, the lines need to:
- Close completely — open gaps in outlines are a problem in coloring books because they let color "bleed" out of a section when children are coloring. Every contour needs to close. This means your light taper-off lines at the ends of strokes need to actually connect to the next stroke, not trail into empty space.
- Hold up at print resolution — light pressure lines that look great on screen or in your original can disappear entirely when printed at 300dpi on standard copy paper. Test your lightest weight lines by printing a sample page before committing to a full illustration.
- Work in both directions — coloring books get colored with both hands, at various angles, by people who didn't see the original artwork. Lines that look directional or flow-dependent in your original sometimes read as confusing at the child's angle. Pressure variation should reinforce form, not create visual ambiguity.
Build Your Own Coloring Pages
Once your line quality is where you want it, the KikoPop Composer lets you layer your artwork with backgrounds and word art for a complete coloring page layout. Export at 300dpi, ready to print or publish.
Open Composer →A Realistic Practice Schedule
The biggest obstacle to developing pressure control isn't knowledge — it's consistency. Ten minutes of deliberate drill practice four times a week beats two hours on a Sunday once a month by a wide margin. Motor skills build through frequency and repetition, not duration.
A realistic weekly structure for someone actively building their line quality:
- Monday / Wednesday / Friday — 10 minutes of pure drills before any "real" drawing. Gradient lines, swells, controlled contours. Treat it like a musician's scales.
- Tuesday / Thursday — apply pressure awareness to actual illustration work. Before each stroke, decide: heavy, medium, or light? Make it a conscious choice rather than a default.
- Weekend — free drawing without conscious monitoring. Let your developing automatic control show up naturally. Note where it's becoming automatic and where you're still reverting to default.
Most artists who stick to this structure report noticeable automatic improvement — meaning pressure variation happening without conscious effort — within 3–4 weeks.
The Bottom Line
Pressure control is the fastest-improving drawing skill available to most artists because it's purely physical. It doesn't require new theoretical knowledge or a change in how you see. It requires deliberate repetition of specific movements until your hand knows what to do without being told.
The four drills above cover the full range of what professional line art requires. The Art Practice Lab gives you printable guide sheets so you're not setting up exercises from scratch every session. Start with 10 minutes, three times a week, and give it a month.
Your line art will not look the same on the other side of that month. That's a promise.